
How to Create an Outdoor Lighting Installation Plan
Introduction
An outdoor lighting plan is like a map for your garden. It shows where to put lights to make it look better and feel safer. A good lighting plan makes your yard look beautiful at night. It shows off special things like trees, gardens, or fountains and makes it feel nice for spending time with people. Putting lights in your yard helps keep it safe. Good lights make it hard for bad people to hide. They also help you and your friends see where you’re going so nobody falls down. This guide shows you how to make a lighting plan in six steps.
Start with a Drawing
First, draw a picture of your yard. This will help you see the whole space and decide where to put the lights. A drawing helps you find the important things you want to show off, like a big tree or a path. It also keeps you from making mistakes, like putting too many lights in one place and not enough in another.
Think About Your Goals
After you draw your yard, think about what you want the lights to do. Here are some common goals:
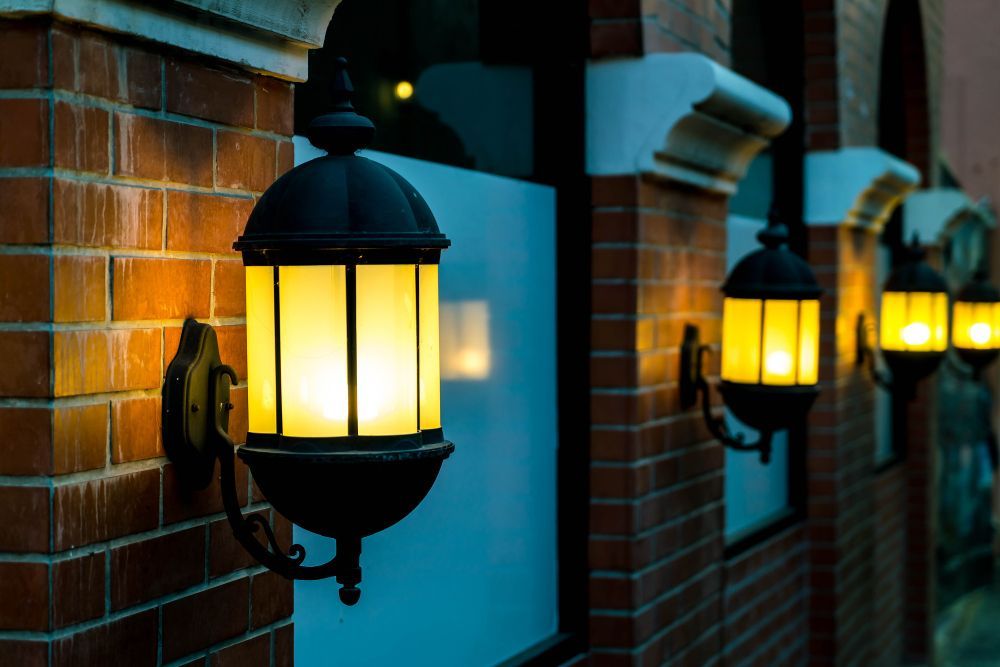
Show off your house: Make special parts of your house look good.
Stay safe: Light up paths and steps to avoid falls.
Be secure: Make your yard hard for bad people to hide in.
Make it fun: Add lights to patios or decks for spending time with friends.
Understanding your goals helps you pick the right types of lights and decide where they should go.
Think About What You Need
After you know your goals, think about what kind of lights you need. What you need depends on what you want to do. For example, if you want to stay safe, you need to find all the places that could be dangerous in the dark, like stairs or bumpy paths. If you want to make a place for spending time with friends, think about how you'll use it. You might need strong lights for cooking but softer, more relaxing lights for sitting down. To show off special parts of your house or garden, think about where the light is coming from and how strong it is. Bad lighting can make the area look bad with glare or shadows.
Place Your Lighting Fixtures
After identifying your goals and needs, the next step is to decide where to place your lighting fixtures. The position of your lights plays a key role in how your outdoor space will look. When planning outdoor lighting, it's important to consider things like proper spacing and electrical capacity to ensure a safe and effective setup.
Tips for Spacing Lighting Fixtures
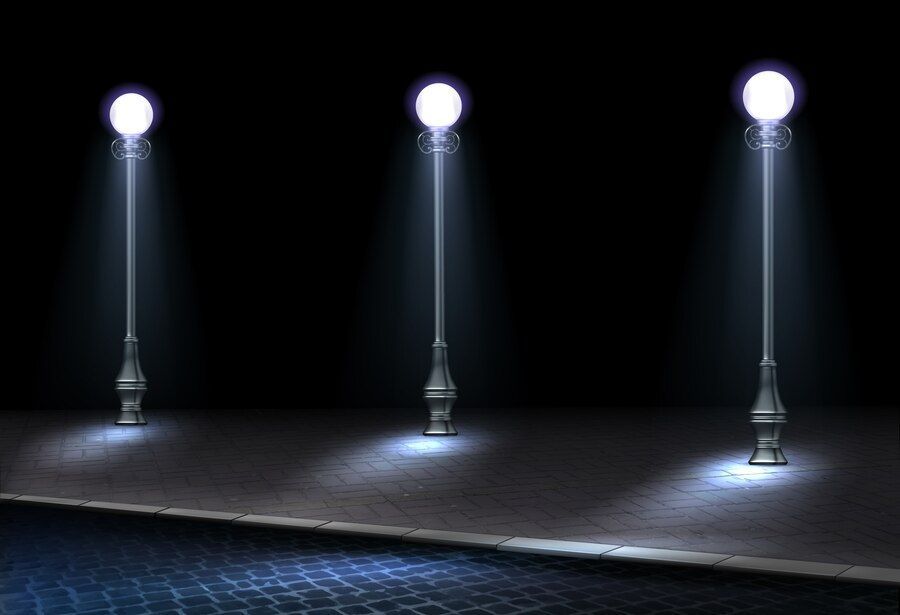
Pathway Lighting: Place lights about 6 to 10 feet apart for even lighting. The exact distance depends on how bright the fixtures are and the surrounding light.
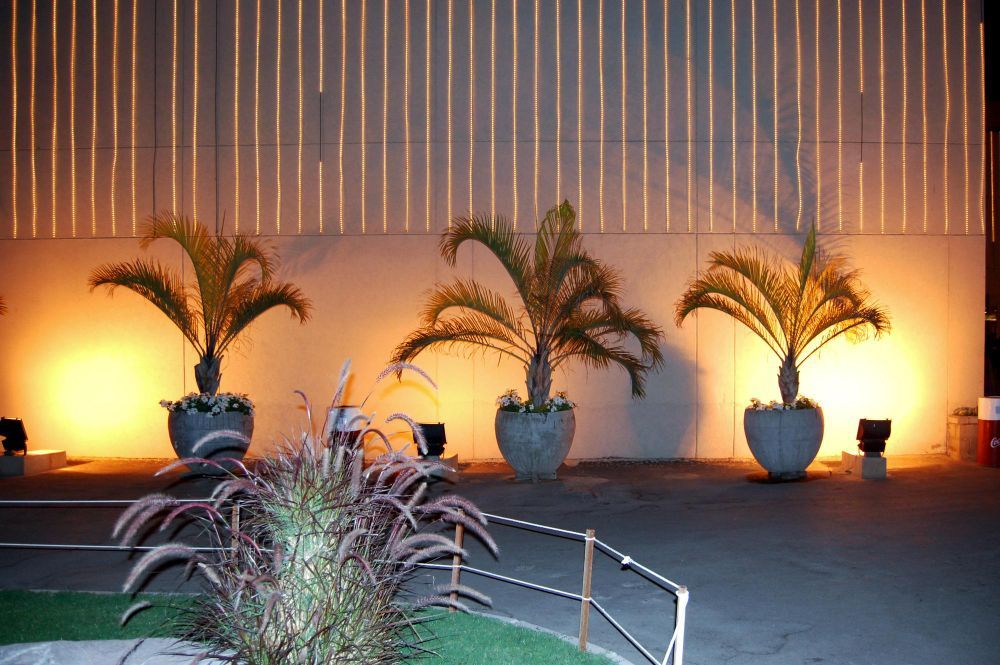
Accent Lighting: When highlighting features like statues or plants, focus on finding the right angle and distance to make them stand out, rather than worrying about exact spacing.
Position Your Transformers
Choosing the right location for your transformer is important in your outdoor lighting plan. Transformers reduce high-voltage household electricity to a lower, safer voltage for your outdoor lights, making them essential to your setup. The number of lights you can connect to one transformer depends on its wattage and the total wattage of all the connected lights. For example, if you have a 300-watt transformer and each light uses 20 watts, you can safely use 15 lights (300/20 = 15). Leave some space for change. It’s good to keep the total watts of your lights at about 80% of what the transformer can handle. Finally, always check the rules in your area and talk to someone who knows about lights. Some places have special rules about where to put transformers. This is important for things like pools.
Think About the Wires
The last step is to figure out where the wires will go between the transformers and the lights. The wires should be easy to fix if needed. You can use T-connectors or hubs to make the wires easier to follow. For safety, and often because of rules, you should bury the wires about 6 inches deep. This is deep enough so you won’t hit them when you’re gardening. Two other important things to think about are how long the wires are and how thick they are. These two things are related. If the wires are long, the lights at the end might be dimmer. The thickness of the wire also affects how well it carries electricity.
Choose the Right Wiring Method
The way you wire your outdoor lights is important for how well they work and how safe they are. Knowing your options will help you make a good plan for your outdoor lights.
Daisy Chain: The daisy chain method is an easy way to wire outdoor lighting fixtures. In this setup, each light is connected in a series, one after the other, forming a "chain." This makes installation simple, as you just connect each new fixture to the previous one in the line.
Hub Method: In the hub method, many lights are connected to one point, called a “hub,” which is then connected to the power source. This way, each light gets the same amount of power, so they all stay the same brightness. This is better than connecting lights in a line, because it stops the power from getting weaker. The hub method might need more wires and more hubs, but it usually gives you a better and stronger lighting system.
T Method: The T method is a mix of the daisy chain and hub methods. Lights are connected in a “T” shape, with a main wire going to a middle point and smaller wires going out to each light. This keeps voltage strong and is good for medium-sized setups. It also allows for more design flexibility, but needs careful planning.
Combination Method: The combination method mixes elements from the daisy chain, hub, and T methods to create a custom wiring solution for your outdoor lighting project. This approach works well for complex or large installations. Its main benefit is adaptability, allowing you to optimise voltage distribution, ease installation, and plan for future expansion in one layout.